Wednesday, October 31, 2012

I'm Bringing Spring Rolls to the Virtual Vegan Potluck

Welcome to the Virtual Vegan Potluck! Over 100 vegan blog posts are linked together here today in one long, delicious chain, starting with appetizers, and ending with dessert. It's my first time participating in something like this, and I think it's just a grand idea.

Today I'm going to finally show you the secret to making perfect spring rolls every time. No more blow-outs. You're going to love this. I learned the technique from Mark Reinfeld of Vegan Fusion, and I think he got  it from a woman from Thailand. I actually got his permission to share this with you here - it's that good a secret. Mark is a great guy, and now we'll all know the Super Secret Spring Roll Wrapping Trick.


Watch the video, and if you need written instructions, visit my earlier post on Those Beautiful Spring Rolls. You might also want to whip up a batch of Buddha Belly Sauce to dip your spring rolls in, or just buy a nice sauce in a bottle. Your friends will still think you're amazing. And you are.


There's so much more to eat in this Virtual Vegan Potluck!
To go to the blog post before mine, visit LemongrassAndGinger (in Australia)
To go to the blog post after mine, visit Don't Switch Off the Light (also in Australia)
To go back and start at the very beginning of the potluck, Click Here.
Enjoy every virtual bite!

Apple Pie Pancakes

Happy Halloween! It's also the last day of Vegan MoFo, which was a ton of fun for me, and really got me into a regular writing habit. I'll probably go to three days a week from here on, with some more videos sprinkled in for fun. Tomorrow is the Virtual Vegan Potluck. I'm really excited about this because I'll be joining over 100 other bloggers in a long chain of posts that will take us from appetizers to dessert. I'm bringing Spring Rolls, and I've also done a little video on how to roll perfect spring rolls every time. You'll be making these with your eyes closed before long!

But first, my last post in Vegan MoFo. Have a nice breakfast, and thanks so much for visiting!


I'm still using apples form our big harvest this year. It's amazing how many apples one little tree can make. Lucky us to have this big juicy apple blessing, right in our own back yard. I've been promising Rick another apple pie, but somehow haven't gotten around to making one yet. I think these Apple Pie Pancakes made him just as happy as a pie would have.

Apple Pie Pancakes

Topping
6 cups chopped apples
1/2 cup brown sugar
1 T cinnamon
1/4 tsp nutmeg
2 cups water
1 T arrowroot

Place all the topping ingredients, except arrowroot, in a saucepan and bring to a boil. Reduce heat and simmer for about 15 minutes, until the apples soften. Add the arrowroot gradually, reduce heat to low, and keep the sauce warm until you're ready to serve it. If you like, you can mash it up a little bit with a potato masher.

Cakes
2 cups brown rice flour
2 T baking powder
1 tsp xanthan gum (omit this if you use a flour with gluten)
2 T brown sugar
1/4 tsp salt
2 tsp cinnamon
1/2 cup dates, pitted and chopped
1/2 cup walnuts, chopped
1 cup apples, chopped small
2 cups nut milk
1 1/2 cups water
Mix dry ingredients together. Add the milk and water, and stir until well blended. Let the batter rest about 5 minutes, and add more milk or water if necessary. Cook on a very hot griddle, as you would any pancakes. This makes about 18-20 1/4 cup cakes. Any extras reheat well for snacks later. Serve with the warm apple topping, and a little vegan butter if you like. Hmmm... maybe even some vanilla Coconut Bliss ice cream...


Tuesday, October 30, 2012

Is It Hot in Here, or is it Just My Eggplant?


To sweat or not to sweat? Eggplant, that is. There are zillions of opinions on the subject, and from my research, there doesn't seem to be one right way to wrangle an eggplant. Sweating, salting, or degorging (eew) an eggplant means simply to salt it on both sides, and wait a few minutes for the salt to draw out excess water, along with bitterness that comes from the dark seeds inside. Some say that when using smaller, younger eggplants it isn't necessary to salt them first, because they contain fewer seeds, and are more firm than larger, older eggplants, meaning there's less moisture to be drawn out. Peeling the eggplant also appears to be optional, and in most cases, I'm all for leaving the skins on vegetables whenever I can. It's easier, and leaves more of the nutrients in the food.

Whether you prefer to salt or peel is up to you. I found conflicting information all over the internet, and even found a difference in opinion between the infallible Julia Child and Eleonora Consoli, the Italian cookbook author from Sicily. I've always sliced my peeled-or-un-peeled, salted-or-un-salted eggplants in nice rounds, but have learned that it's better to slice them lengthwise, so the fibers inside can't soak up as much salt or oil. Grazie, Signora Consoli.

If you decide to sweat your next eggplant, I recommend taking a lesson from the Italian pro. This link to the article, Fry Eggplants Like A Sicilian Mama will take you from slicing and salting to perfectly frying in hot (not olive) oil. I don't fry our food very often, but next time I feel the urge, this is what I'll try. For now I'm content to grill my sweated eggplants, and serve them up in a nice toasty sandwich.


Monday, October 29, 2012

Dog Treats

We're almost done with Vegan MoFo, and wow, it's gone by quickly! In preparation for my next little adventure, the Virtual Vegan Potluck, I've done a short video - on how to make vegan dog treats. It's almost Halloween, and no doubt you'll have plenty of treats of your own, so how about whipping up a little something for your favorite pup? If you don't have a dog, make some for your friend's dogs, or take some to the shelter, or have them ready for trick-or-treating canines that wander the streets with their pet children.


I have big plans to do lots more videos, so this is really the pilot for my "show". This is really a new trick for me, and it's low tech for sure. I'm the camera crew, the prep cook, the dishwasher, the "talent," and everything else it takes to get a video from iPad to YouTube to you. I've decided not to bother learning a bunch of fancy editing tricks. Instead, I'm going for sort of a "live TV" kind of thing, going from start to finish, mistakes included. Maybe I'll decide to add some polish later, but for now, you're getting the real me, which is sort of silly, I'll admit. I hope you enjoy this new venture of mine. Stay tuned for more PVTV!


Vegan Dog Treats

4 cups whole wheat flour
2 cups rolled oats
2 cups almond pulp (left over from making almond milk)
1 cup nutritional yeast
1/2 cup flax seed meal, or whole chia seeds
1/2 cup oil
1/2 cup peanut butter
1/4 cup miso
4 cups water

Stir everything together in a large bowl. Spread about 1/4 inch thick on 4 non-stick lined dehydrator trays. Dehydrate at 105ยบ for 6-8 hours, or until the top feels dry. Flip the treats over, peel off the non-stick liners, and continue to dehydrate for several more hours, until the treats are dry and crunchy. Break the slab o' treats into bite size pieces.

Here's a little trick that didn't make it to the video. Slip a plastic bag over your hand and you'll easily be able to press the batter onto the trays. Wish I'd thought of that sooner. We learn as we go.


If you don't have a dehydrator, spread the batter onto well-oiled, or parchment lined cookie sheets, and bake in your oven at the lowest possible setting until the treats are dry and crunchy. It might take several hours, but if you cook them at too high a temperature the edges will burn before the center is done. You might need to turn them over, or even break them up a bit at some point, so the center can dry. It's not French pastry. It's dog treats. Don't worry if they aren't pretty. Your dog will still love them.

Friday, October 26, 2012

Red Chile

The official state question here in New Mexico is, "Red or Green?" You'll most likely hear it in a restaurant, and they'll be asking whether you want red or green chile on your food. If you can't decide, ask for "Christmas," and have some of both. Chile is not the same as chili. It's a sauce, and doesn't have beans in it. Sometimes it has meat (boo!), but ask your server, just to be sure, or make your own. There are as many recipes for red chile (and green) as there are cooks who make it. Here's mine.


Red Chile

3 T mild chile powder
1 tsp hot chile powder
2 tsp cumin
1/2 tsp cinnamon
2 T olive oil (optional)
1 yellow onion, finely chopped
1 T garlic, chopped
1 tsp sea salt
1 - 32 ounce carton vegetable broth
2 T maple syrup
2 T chia seeds or flax seed meal

Toast the chile powders, cumin, and cinnamon in a dry saucepan over medium heat for 2-3 minutes, stirring constantly, OR cook them gently in olive oil. I usually do it without the oil, which is not traditional, but really, really good. Cooking the chile powders is important. Don't skip this step.

Add 1/2 cup or so of the vegetable broth. When it's hot, add the onion and garlic. Cook over medium heat until soft.

Add the rest of the broth, the salt, and the maple syrup. When it's hot, add the chia seeds or flax meal to thicken. Adjust seasonings, and serve on things like tofu scrambles, breakfast burritos, rice and bean dishes, and mac and cheese, or use it as an enchilada sauce.


Thursday, October 25, 2012

Leather

Everybody comes to veganism in their own way, for their own reasons. Usually it's based on personal health/weight concerns, environmental issues, or animal rights considerations. I think eventually many of us embrace all of these things, and at that point, being vegan is more than a diet, it's a lifestyle. What we eat remains central, but what we wear and buy and support also plays a big role.

At first I was all about the food, and didn't give things like leather much thought. The poor cow was already dead, and there was nothing I could do about it. I was mistaken though, because every time we buy something, we say to the maker of that thing, "Please make more."

My stance on leather these days is this: I do not buy anything made of leather anymore. Not shoes, not purses, not belts, not anything. There are plenty of good alternatives out there now, so it's really very easy. The leather items I still own, from my pre-vegan days, are used and cherished, or passed on to someone else. I won't throw them away, out of respect for the creature they came from.

The one leather item I did buy after going vegan is a doozy - a green leather couch. Before you throw rocks at me, or turn me in to PETA, let me tell you the story behind this purchase. We had been renting our house to tenants who, unknown to us, had over 30 cats and dogs living inside. When we came back to reclaim our home, it was one big stinky mess, and almost everything, from furniture to drapes to carpets had to be thrown out. Not in any position to afford new furniture, I went to Craigslist, and found this beautiful leather couch, here in Taos (not hours away in another town), for only $75. I struggled with deciding what to do, but ended up buying it because we were desperate, and because I knew we were at least the third owners of the couch. I felt we were rescuing it, rather than sending any encouragement to the leather industry. Ideally, I'd have something else, but for now I feel like the Keeper of the Sacred Cowch. I've let go of the guilt, because I didn't cause any harm in buying it. And I say nice things to it every day.

Back to shoes - my favorite thing to buy in genuine not-leather. Check out Alternative Outfitters, Moo Shoes, and Planet Shoes. A quick Google search will turn up even more. Even Zappos has a vegan shoes section. So cool. I just got these beauties from LuLu's.com. Totally vegan, red faux suede, super cute, and cheap - only $32. I can't walk in them, but I can cook!


Wednesday, October 24, 2012

Cheesy Basil Salad Dressing

This dressing is Rick's favorite. It's rich and thick, and I like it mixed with Kim's Favorite Salad Dressing. It keeps in the fridge for a week or more.


Cheesy Basil Dressing

1 cup raw cashews, soaked
1/2 - 1 cup fresh basil leaves
1/2 cup nutritional yeast
1 tsp truffle salt (or sea salt)
1 tsp garlic powder
1 T Dijon mustard
1/4 cup apple cider vinegar (or balsamic or wine vinegar)
juice of 1/2 lemon
1 cup water

Place everything in a blender, and blend on high speed until smooth.

Tuesday, October 23, 2012

Kim's Favorite Salad Dressing

We have a big salad for lunch almost every day, and of course I make my own salad dressings. Rick prefers the creamy-nutty-cheesy dressings, but I like to keep it a little lighter, so I keep this one on hand all the time. Use a good Dijon mustard, like Annie's organic, which is my favorite. In my opinion, Dijon mustard is God's gift to salad dressing. This dressing is really pretty, and extra delicious, if you add a handful of fresh basil to the blend. Wish I had some for this batch.


Kim's Favorite Salad Dressing

1/2 cup nutritional yeast
1/4 cup walnuts
1/2 tsp garlic powder
1/2 tsp salt
black pepper to taste
1 tsp red pepper flakes
2 T tamari
2 T dijon mustard
1/4 cup apple cider vinegar (or other vinegar)
juice of 1 lemon
1 T maple syrup (or 2-3 dates, soaked in water until soft)
1 cup water
1/2 - 1 cup fresh basil - optional

Throw everything into the blender, and buzz it up. This keeps at least a week in the fridge, probably quite a bit longer, but we use it up that fast.

Variation: To lighten this up even more, and change up the flavor, leave out the walnuts, and add 2 T wakame flakes (seaweed), and 1 tsp ume plum paste. The wakame will soften as it soaks in the dressing for a while.

Monday, October 22, 2012

Roasted Root Vegetables

This can be made with any root veggies you like. This week there was an abundance of beets, carrots, and potatoes at the farmer's market, so that's what I used, along with herbs from my own little garden.


Roasted Root Vegetables

Assorted beets, carrots, and potatoes - about 8-10 cups total - chopped into uniform, bite-sized pieces
1 yellow onion, chopped
6-8 cloves garlic - coarsely chopped
1/2 cup fresh herbs, chopped (I had oregano, thyme, rosemary, tarragon, and basil)

2 cups vegetable broth
2 tsp miso paste
1 T tamari
1 T dijon mustard


Preheat oven to 425ยบ. Toss chopped vegetables and herbs together in a large bowl. Mix the miso in a small bowl with a little bit of the broth until it's smooth. Stir in the remaining broth, tamari, and mustard. Pour over the vegetables and mix well. Place the veggies in a baking pan (I used a 10x10 so it would fit in my toaster oven), and bake at 425ยบ for 30 minutes. Stir it all up, and bake for another 30 minutes, or until the vegetables are tender. It will be very saucy, and everything will turn sort of a ruby color from the beets. Gorgeous.


I recommend serving this over rice while it's still hot, because the sauce it wonderful. Then the next day serve it chilled as a salad, on a bed of greens with your favorite dressing. Hot or cold, these are a hit.

Friday, October 19, 2012

New Vegan Option in Taos

Old Martina's Hall, which was once Old Martinez Hall, has been struggling to open for a long time. Small town bureaucrats with big egos stood in the way as long as they could, but eventually sanity won out, and this beautifully renovated historic building, just across from the famous Ranchos Church, is finally open for breakfast and lunch. We've been hearing good things about it, but of course I was skeptical about there being anything on the menu I could actually eat. We popped in over the weekend to check it out, and found many pleasant surprises.

First off, the place is absolutely gorgeous. Buckets of money have been poured into the renovation, and the building itself is a work of art with its thick adobe walls, high ceilings supported by rough vigas, and original glass in the front windows that reflects on the walls in a wavy, dreamy way.


The menu is kind of eclectic, with offerings ranging from German to New Mexican fare. They have several items marked as either vegetarian or raw, but nothing specifically vegan. After asking a few key questions, I found that our server and the chef were more than willing to get creative for me. I tend to not want to be a bother to people, but I'm getting better at asking for what I want in regular mainstream restaurants. I call it Menu Deconstruction, and it works quite well.

First look over the menu as if it were a shopping list. Mentally note all the ingredients you see that would work in a vegan meal. Salads are always a good place to start, but they aren't the end of the line. Maybe there's a salad that looks good, but it has meat or cheese on it, but across the way there's a burrito with beans and potatoes. Ask them to substitute plant ingredients for animal ingredients, rather than just leaving off the meat and cheese, which tends to leave a pretty bland and uninspired meal on your plate. If it's in the kitchen, they can do it.

At Martina's Rick had a breakfast burrito minus the bacon, cheese, eggs, and sour cream. That seemed to leave only beans and potatoes, until he asked for some veggies in place of the other stuff. He got just what he wanted, and had it topped with their veggie green chile. It was fabulous, and nothing was missing.


I had a veggie burger, which is a good house made patty, usually topped with a goopy pile of cheese. They subbed calabacitas (squash) and spinach for the cheese, and even had a gluten free bun. Everything was good, and everyone was happy.


Keep in mind that it's important to be super pleasant when asking for all this special treatment. We want vegans to come across as nice people, and we want restaurants to understand that there are rapidly growing numbers of us, and it would be in their best interests to feed us too. They won't know what we want if we don't ask for it. And be sure to tip well. A happy server will take even better care of you next time you come in.

We're really looking forward to Martina's opening for dinner and entertainment in the near future. It looks like they're off to a good start, with good food, friendly staff, a very pretty and well stocked bakery case, and a nice wine and beer menu to add to the general appeal and festive mood. When you come to Taos, we'll meet you there!

Thursday, October 18, 2012

Gomasio


Gomasio (go-ma-shio) is a wonderful Japanese condiment, made simply from sea salt and sesame seeds. I add seaweed to mine for added nutrients and flavor. It's good on just about anything, including salads, stir-fries, popcorn, and our favorite, Avocado-Tomato English MuffinsIt’s tastier and less salty than salt alone, and has the added bonus of calcium-loaded sesame seeds.


Gomasio


1 cup sesame seeds, lightly toasted in a dry pan
½ cup raw sesame seeds
3 T sea salt
3 rounded T wakame (seaweed), ground well before adding (or granulated or powdered kelp)


Mix all ingredients together in a bowl. Place half the mixture in a spice grinder, clean coffee grinder, or small food processor, and process just until the seeds are just ground up. Be careful not to make a paste. Return the ground mixture to the bowl and stir well. Store in a glass jar.

Note: It’s best to start with raw, un-hulled sesame seeds.

Variations: Omit the wakame, use only toasted sesame seeds, or add herbs, pepper flakes, wasabi powder, or other salt-free seasonings to the grinder for your own special blends.


Wednesday, October 17, 2012

NutriBullet Review

Every vegan has a Vitamix, right? It's kind of seen as standard equipment for anyone switching to a plant based diet. But not all of us actually have them. I've had a bad case of Vitamix Envy for a long time, but so far the Kitchen Appliance Fairy hasn't delivered, and with a $500 pricetag, I haven't been able to justify springing for one myself. Recently, after rave reviews from friends, I ordered a NutriBullet from Target. It's touted to be able to do a lot of the things Vitamix does, and at a fraction of the price, I thought it was worth a shot. (FYI, the Nutribullet was about $100 online at Target, with free shipping, and it's $150 everywhere else. Go figure.)


I'll start by saying that I like it. Like, but not love. It does what it does very well, but it doesn't do everything I had hoped it would. It makes absolutely magnificent smoothies, much smoother and creamier and frothier than my regular blender does. And because the container is rather small, it forces me to control the amount of goodness I throw in there. Now I make exactly enough smoothie for Rick and me to share in the morning, but not enough for the whole neighborhood. When I can make a vat of something, I generally do, and that's not always a good thing.

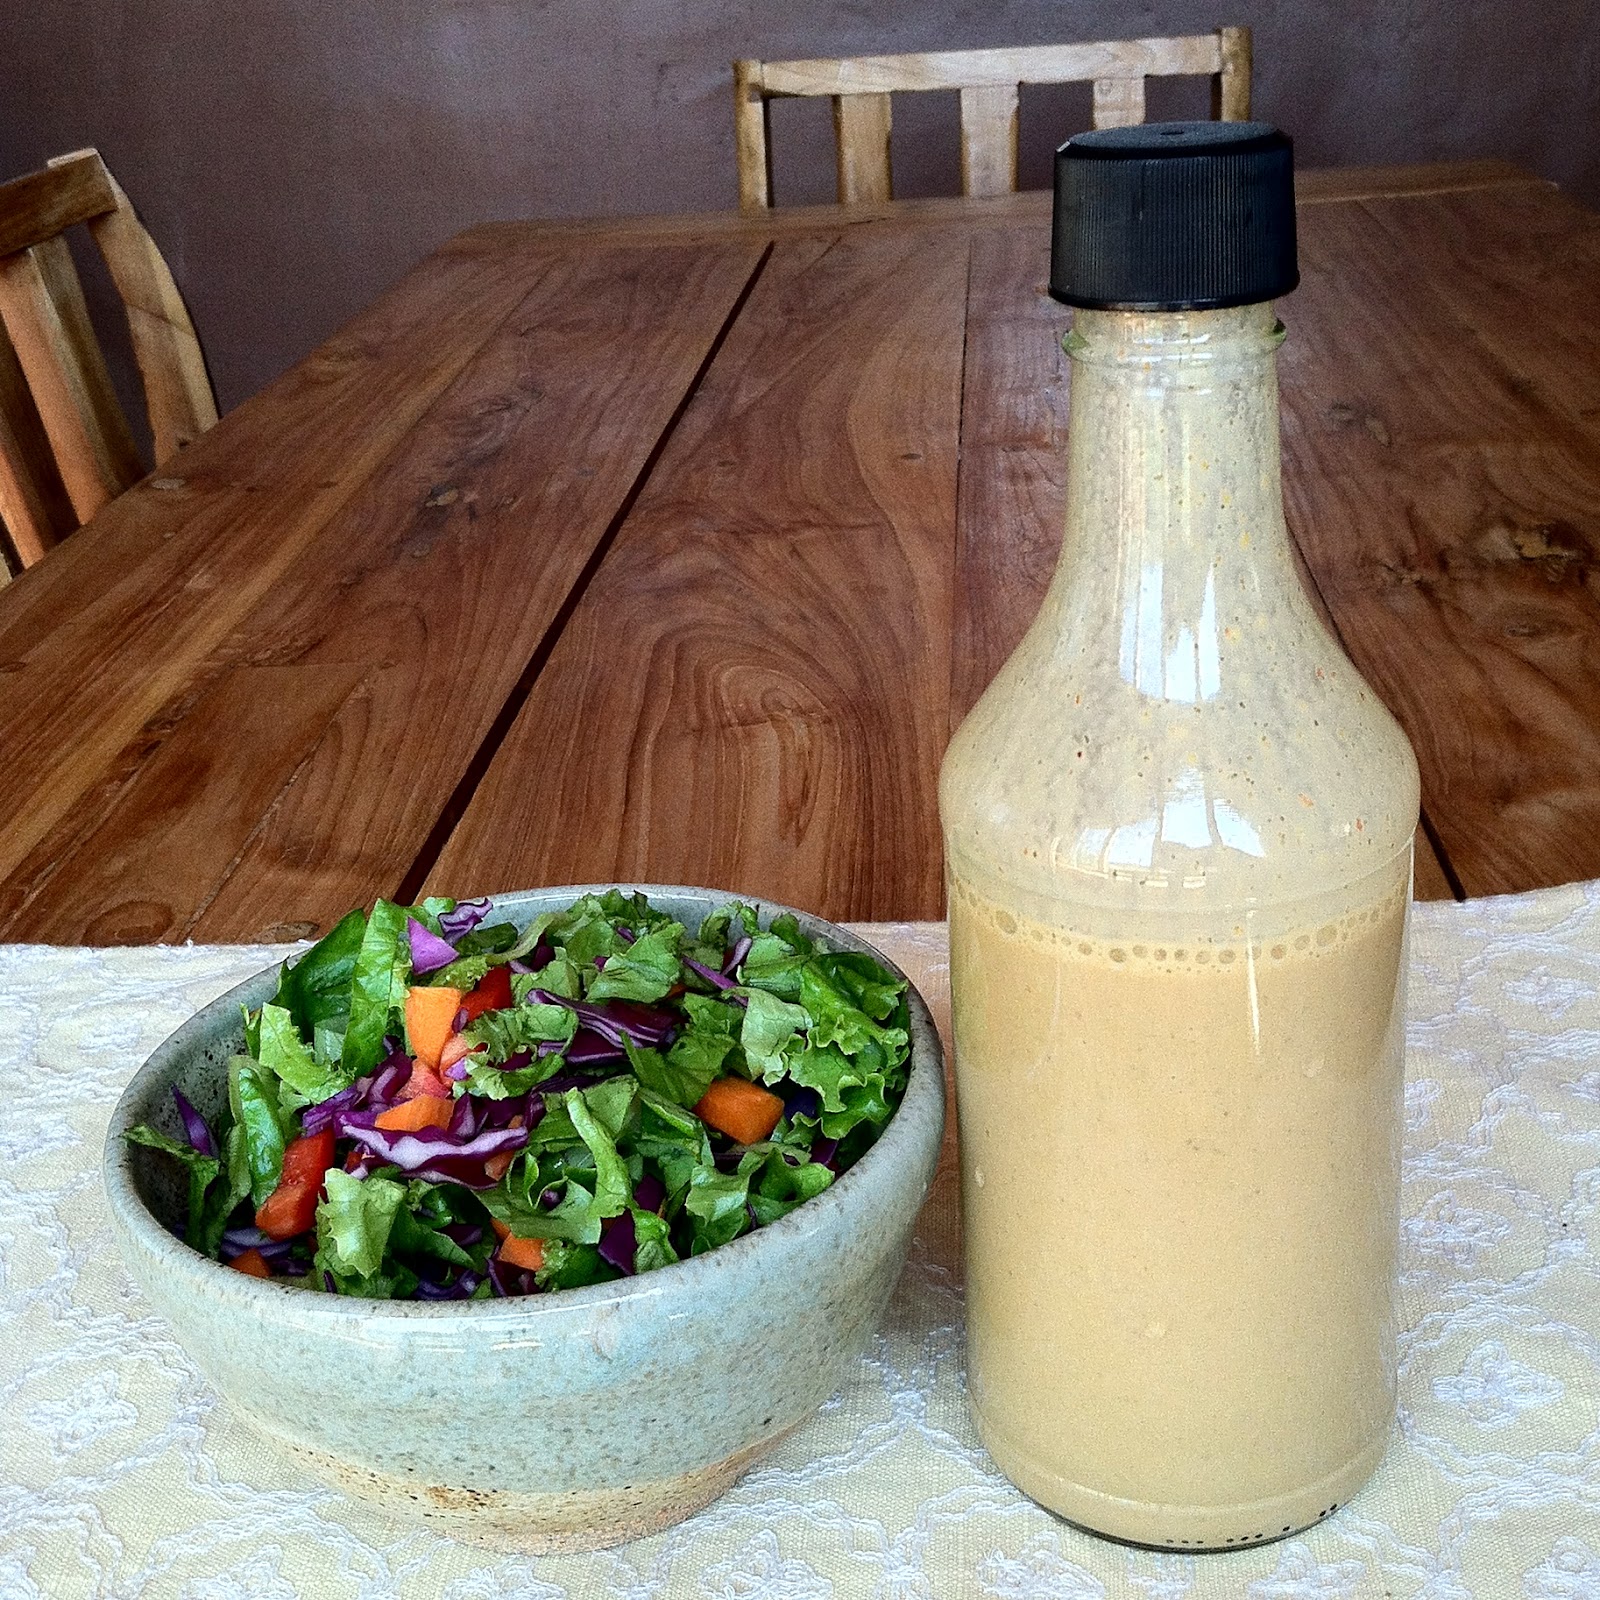
It's also really great for salad dressings, small batches of Almond Creamer, or anything else that has a lot of liquid in it. One thing I noticed though is you kind of have to put all the ingredients in all at once, and then blend it up. Because the cap and blades are on the bottom of the container, opening it to add ingredients can get really messy. But as long as I'm following a recipe, rather than inventing one, and don't need to do a lot of taste-testing, it works perfectly.

Another nice thing is that it's super easy to clean up. Since the cap-blade assembly doesn't come apart, all you have to do is fill the container with hot soapy water, buzz it up for a few seconds, and rinse it out. (It's dishwasher safe too, but that really means nothing to me. I haven't had a dishwasher in so long I'd probably just use it for storage if one magically appeared, which I hope it doesn't. I like playing in the bubbles.)

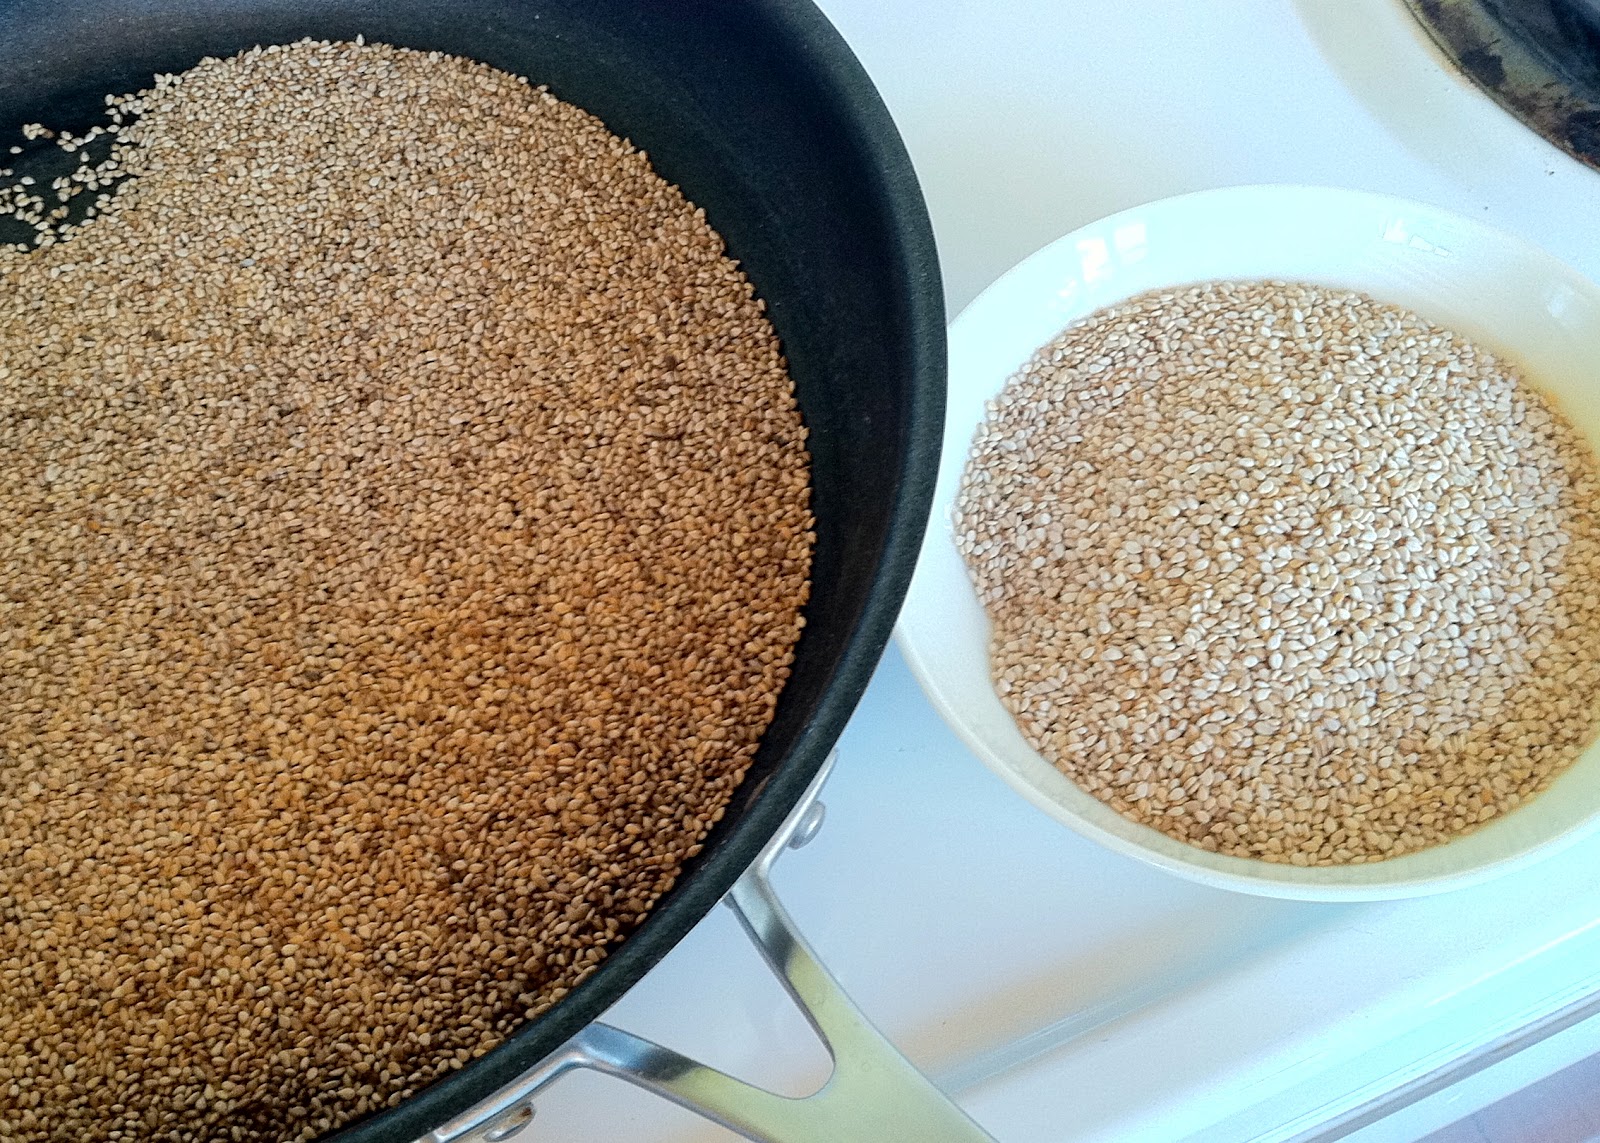
There are a couple of things NutriBullet doesn't do that I really hoped it would. I wanted to make nut butters, but so far I just get a mix of almost-butter and un-chopped nuts, even when using the special blade that should be able to handle the job. Forget about blending thick things like hummus or nut cheese. It just won't work. And I had some success with grinding brown rice into flour, but it wasn't as fine as I would have liked it. It worked alright for the crust of my latest apple pie, but made the topping kind of gritty.

Two other things to be aware of: The cap and container are very wide. I have big hands for a girl, but I have a hard time getting a grip on the cap to open it. I imagine someone with small hands, or with arthritis, would have a devil of a time getting to their smoothie. Also, I was not at all happy when twice now, the cap has come partially unscrewed during blending, and the contents leaked all over and made a huge mess. Screw it on tight, and then have someone there to help you open it.

I don't mean to sound like the NutriBullet is a terrible thing. It's not. In fact I actually really like it a lot for the things it does well. If you want to make amazing smoothies, this is your gadget. But don't expect miracles. The NutriBullet is a great little blender that doesn't cost a lot, and won't take up much counter space, but it will never grow up to be a Vitamix. I'll keep wishing for one of those.

UPDATE - 1-12-15
I finally killed my Bullet. One of the little lock-tabs inside broke, making it difficult to line the jar up with the motor and turn it on. I gave it to a young friend who may or may not have had the patience to limp along with it. I finally bought a Vitamix, and as you can read in my review, I wish I'd done it a long time ago.

Tuesday, October 16, 2012

Almond Creamer


This recipe is very similar to the Basic Nut Milk recipe, except it has less water, making a thicker, richer, creamier milk that tastes just heavenly in tea or coffee. I started making this when I bought a NutriBullet, which has a much smaller volume than a regular blender. You can still make this in your blender though. No need to buy a new kitchen appliance.


Almond Creamer

1 cup raw almonds, soaked overnight
2 cups water

Drain and rinse the soaked almonds, and place them in the blender with the water. Blend at high speed for a minute or so, until it looks white and creamy.


Pour through a nut milk bag into a bowl, and gently squeeze all the liquid out of the bag.


Store the creamer in a glass jar in the fridge for 4-6 days. Use the nut pulp to make cheese, or add it to baked goods or breakfast cereals.


Monday, October 15, 2012

Pasta Alfredo Primavera

I have a funny story about alfredo sauce... Years ago, I used to make it with butter, cheese, and heavy whipping cream. It was lethal, but of course everybody loved it. I gave the recipe to a fellow cocktail waitress at Harrah's Tahoe, and she was all excited to make it for a party. She came back to work the next day looking sort of perplexed. She said it tasted... weird... Expanding on her story, she went step by step through how she had made the recipe, and then said, "It was all fine until I added the Cool Whip..." 

Fast forward to Now. My recipe is updated to a much healthier place, and I trust we all know the difference between whipping cream and Cool Whip, even though we won't be going anywhere near either of them. I took this to a party recently, and got rave reviews from everyone there, even though no one was vegan. It's rich and creamy and beautiful. While it's great for a potluck, it's best hot and bubbly, right out of the over for a nice dinner at home. You can also use this sauce over any pasta, or as a pizza sauce.


Pasta Alfredo Primavera

Sauce
1 cup raw cashews, soaked in water for 20 minutes or more, then drained and rinsed
1 lb package silken tofu
3 cloves garlic, chopped
1/2 cup nutritional yeast
1/2 tsp onion powder
1 tsp salt
1/4 tsp white pepper (or black)
2 tsp dry basil
1 tsp dry oregano
1/2 cup white wine
1 cup nut milk (or any plant milk)


Place all ingredients in a blender or food processor, and blend on high speed until smooth and creamy. Set aside.


Vegetables
1/2 pound fresh spinach, chopped
2 cups fresh broccoli, small florets
1 cup fresh carrots, chopped
1 cup fresh mushrooms, chopped
1 cup fresh or frozen corn

Other Ingredients
1/4 cup toasted sunflower seeds or pine nuts
additional basil

Lightly oil a 10x10 inch baking pan. Preheat oven to 350ยบ.
Cook 1 pound of whole grain elbow, twisty, or shell pasta according to package directions. I like to use brown rice pasta for this.
Steam the broccoli and carrots in a colander placed over the boiling pasta for about 2-3 minutes. (Alternately, just throw the broccoli and carrots in with the pasta for the last 3 minutes of cooking.)
Drain the cooked pasta, and return it to the cooking pot. (Turn off the heat)
Gently stir in the spinach until it wilts.
Stir in the other vegetables.
Reserve 1 cup of sauce, and then stir the rest of the sauce into the pasta and veggies.
Pour the pasta mixture into the baking dish, and bake for 30 minutes.
Pour the remaining 1 cup of sauce over the top, and sprinkle with seeds or nuts, and a little extra basil.
Cook 10 minutes more.
Serve hot from the oven, with a nice crisp salad.

Shortcut: Stir everything into the cooked pasta until it's hot and saucy, and serve directly from the pot, without baking.


Friday, October 12, 2012

Chocolate Raspberry Chia Seed Pudding

Chocolate and raspberries... oh yes please. Make this with fresh or frozen raspberries for a really special treat. This is a versatile pudding that can be changed in endless ways. Take a look at the variations below, and feel free to come up with some of your own. You really can't go wrong.


Chocolate Raspberry Chia Seed Pudding

10 pitted dates, soaked in water for an hour or more to soften
1 ripe banana
1 cup raspberries
1/4 cup unsweetened cocoa powder
1/2 cup chia seeds


Buzz up the dates, banana, raspberries, cocoa powder, and milk in a food processor until smooth.
Pour into a bowl and stir in chia seeds.
Allow to sit for 5-10 minutes. The chia seeds will begin to gel.
Stir well and refrigerate for several hours.

NOTE: You can have dates soaking in water in your fridge on a regular basis, so they’re ready to use in puddings and smoothies. They keep for at least a week, and the soak water is also a good sweetener.

Variations: Use any sort of vegan milk you like. Leave out the berries, and use an additional cup of milk instead. Leave out the cocoa powder, or substitute carob powder. Try adding flavor extracts like orange or vanilla. Add shredded coconut, raisins, goji berries, chopped nuts, or anything else you might normally like in a tapioca sort of pudding.